As promised in my last post, I am writing a post about the tech specs as to how everything comes together on my desk. Working from home again meant I needed to come up with a dedicated space to work, and moving into a new space allowed Brandon and I to think through the perfect space for the both of us. And it’s like I have two built-in coworkers now!
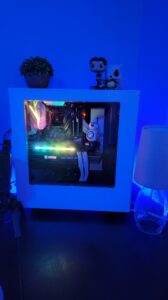
Right now, I’m running two machines, a 2019 Macbook Pro and a hand-me-down gaming PC (that still runs like a champ). Current specs on the PC: an Intel i5 8600k, GeForce RTX 3070, with 16GB RAM, with about 500GB of storage. Perfect for a starter PC and a chance for me to explore gaming outside of my PS4 and Nintendo Switch.
I needed a space that allowed me to seamlessly switch between my PC for fun and my MacBook Pro for work. There was no way I was switching to use my PC for work, as I’d only really worked on macOS before so I knew the learning curve was steep.
I scoured YouTube for ideas, where I could combine a minimalist setup, with some Scandinavian vibes (looking at you IKEA), while also working with the previous setup Brandon built. I wanted to keep dual setups in mind as I was envisioning the final form for the desk.
I took major inspiration from Maisyleigh and Wayne Banga for their clean cozy setups. (Spoiler alert, Wayne has a ton of cool stuff in his space and bonus points for the baby Yoda squishmallow)
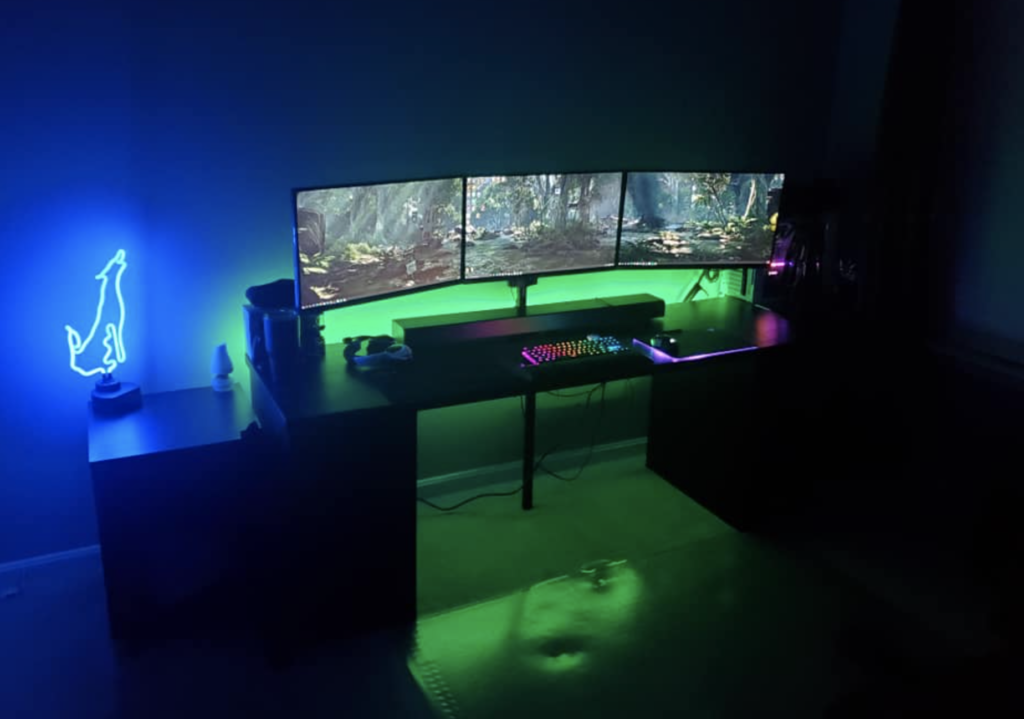
Once we were settled in the new house, hours of YouTube consumed, and a road trip to IKEA of course, it was time to build. First the Alex drawers, then the Langkapten tabletops (2 55inch and 1 76inch top), PC builds, monitor mounts, and of course the RGB lights.
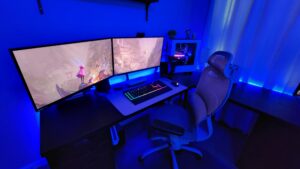
My side is on the left, and I needed a second monitor and desk mount. I was quickly finding that I needed one after using two screens at Reclaim HQ. Then it was time for shelves. We had plenty of wall space above the monitor mounts so it was a perfect space for wall art and decorations!
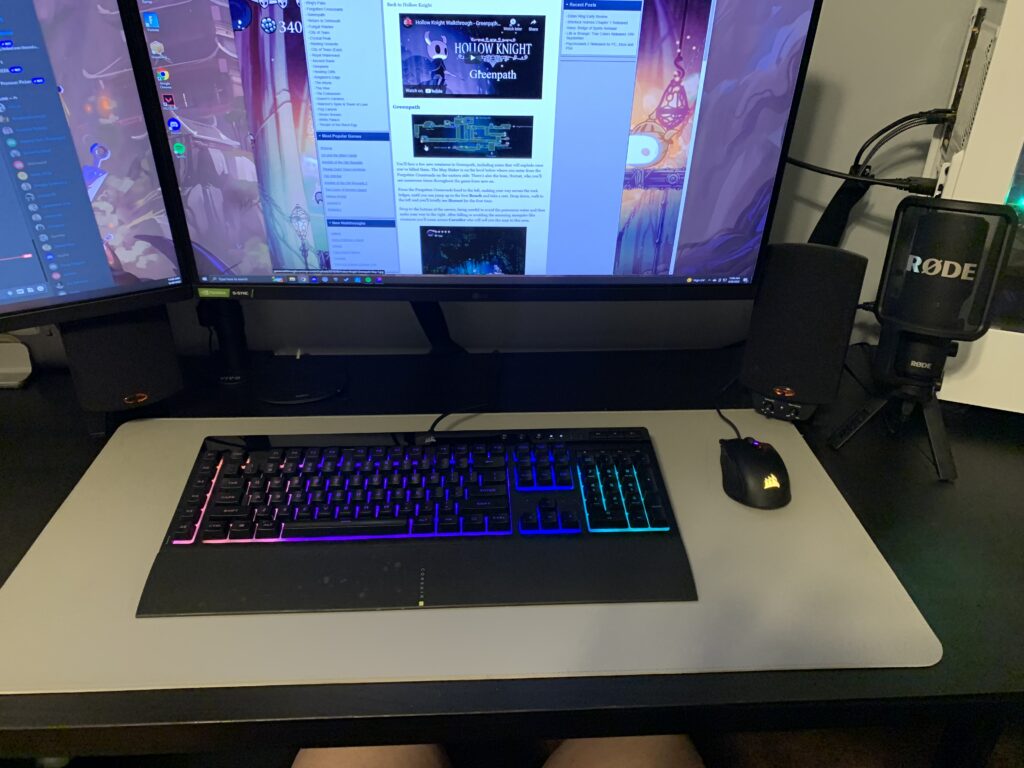
When we first started, I had most of the peripherals in place, like my mouse, keyboard, webcam, mic, and speakers. I needed to be able to use those with both setups so I wasn’t constantly switching cords around.
I picked Taylor’s brain on desk setups as well, and I discovered USB/KVM switches. You plug in up to 4 USB inputs into one end, then you have two outputs on the other end to route to each device. This was perfect! I found one on Amazon and it’s been working well so far! I ended up mounting it under my desk to hide all the cords. I ended up adding my keyboard, mouse, mic, and speaker (with a 3.5mm to USB converter) to the switch, my webcam stays connected to my MacBook as I don’t see myself using it on the PC.
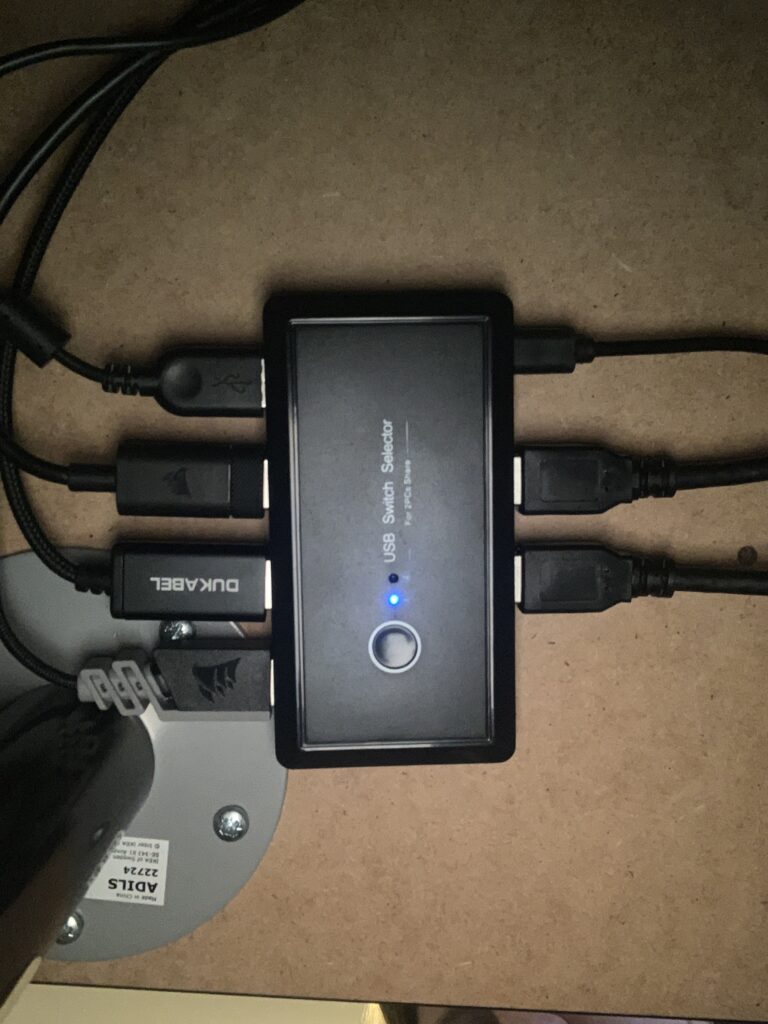
Now I can click one button under the desk, and I’m able to switch between inputs quickly. My monitors also pick up inputs automatically so it’s even easier!
Now the next step, my MacBook only has 2 USB-C ports… I thought that was going to be a bigger hurdle than it ended up being. Jim mentioned using the OWC Digital dock, and I found the Thunderbolt Mini 3 as a good middle ground for my budget. It allowed me to hardwire my laptop to the Internet through Ethernet and utilize multiple USB ports, and 2 HDMI inputs for my monitors. This worked perfectly because my PC uses DisplayPorts to connect, so I wasn’t competing for inputs.
The only downside to this setup currently is that I can’t get my Macbook to wake on the keyboard or mouse through the dock or the KVM switch (I haven’t found out which one yet), so I have to open up my laptop to wake. Only a real “inconvenience” when checking in to work in the morning, or coming back from break. I also grabbed a vertical laptop stand (similar linked on Amazon), to keep the laptop in tiptop display shape and off my desk.
And holy cable management, that was a feat in itself to get organized, but we ended up using a couple of trays from IKEA and hoped for the best. I had about 3 times as many cords as Brandon does, the dedicated PC man he is! But I think I did a fairly decent job hiding them all!
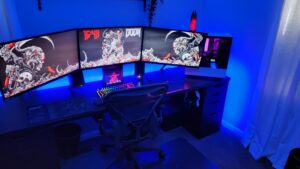
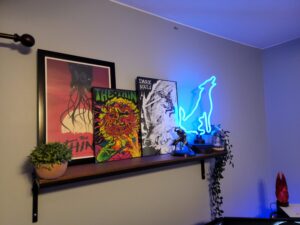
Finally, on our shelves and scattered around, we wanted to showcase some of our favorite things, mine being Spiderman, Animal Crossing, the Uncharted series, Star Wars, and Legos– Brandon’s being The Thing, Bloodbourne, Dark Souls, Elden Ring, Deadspace, and Doom (in the desktop background). These both add a touch of personality to our setups, where things can be bland.
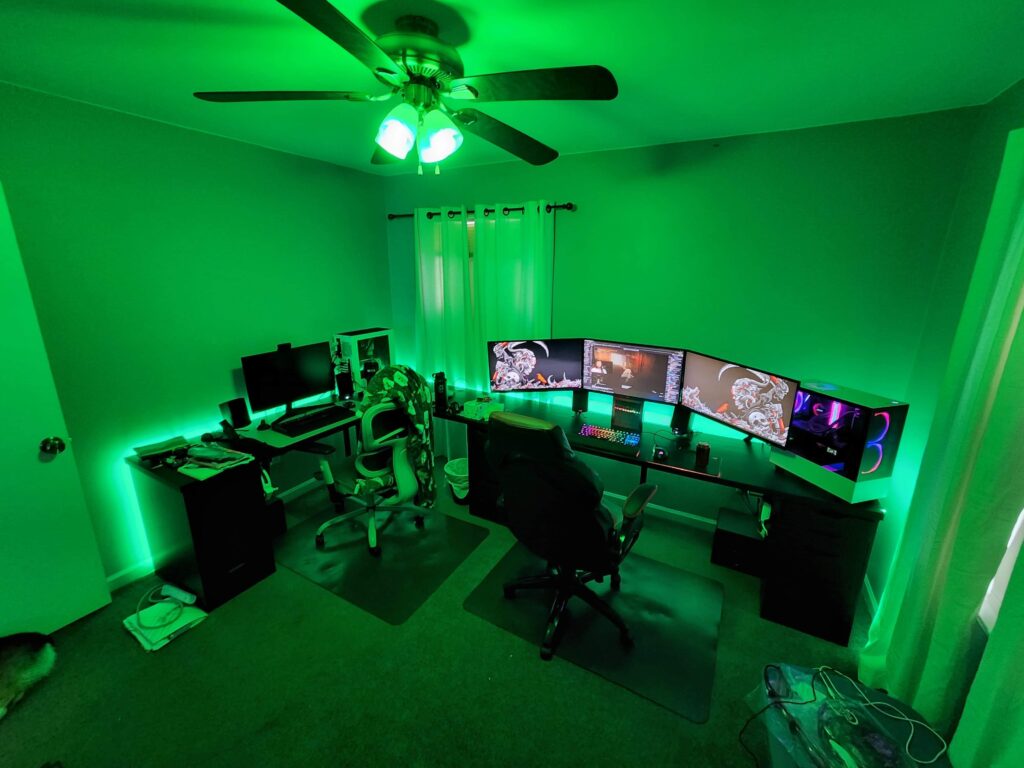
Here’s a final look!
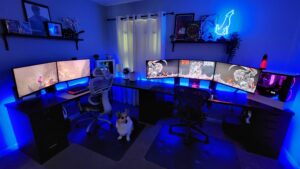

We’re really happy with how it turned out, we each have our own space, but are shared in the middle– and after moving around so much in college/post-grad/pandemic life, it feels good to have a permanent space to work from.
This is now officially dubbed the Mega Desk.
Check out our post on Reddit r/battlestations too, we had to include Dexter in the photo of course.
It is amazing how the shelve offer the perfect balance and pull everything together so well. I love THh Thing fan art posters as well, what an amazing film! Art is always the differentiator 🙂
Just that little bit of wall decor is perfect– We’re experimenting with some nano leafs in some of the blank spaces to bring in the lighting aspect that Brandon has on his with the neon wolf. The Thing posters are incredible! I found one on Etsy to complement the custom pieces– they all go really well together!